
In this tutorial, we will provide step-by-step instructions on how to set up the Kibana Plugin Development Environment in the Linux system. We use Ubuntu 18.04.2 Desktop as an example.
Before we start, make sure you are not using the root user and remember to use <span style="font-size: 18px;"><em>sudo</em></span> for each command.
Step 1 — Install prerequisite tools:
- Install Git:
apt-get update && apt-get install git2. Install NVM:
apt-get install build-essential libssl-dev
curl https://raw.githubusercontent.com/creationix/nvm/v0.25.0/install.sh | bash
source ~/.profile
Double check that nvm was successfully installed by running ‘nvm — version’. You should see a version number popup.3. Install yarn:
curl -sS https://dl.yarnpkg.com/debian/pubkey.gpg | sudo apt-key add -
echo "deb https://dl.yarnpkg.com/debian/ stable main" | sudo tee /etc/apt/sources.list.d/yarn.list
sudo apt-get update && sudo apt-get install yarn
Step 2 — Download the Kibana source code:
Download the Kibana source code from Github: https://github.com/elastic/kibana/tree/master
git clone<a href="https://medium.com/r/?url=https%3A%2F%2Fgithub.com%2Felastic%2Fkibana.git"> https://github.com/elastic/kibana.git</a> kibana
cd kibana
Optional: By default, the version of the Kibana is latest. If you would like to work on a specific version of Kibana, make sure to run git checkout your_version_number
Step 3— Install dependencies for Kibana
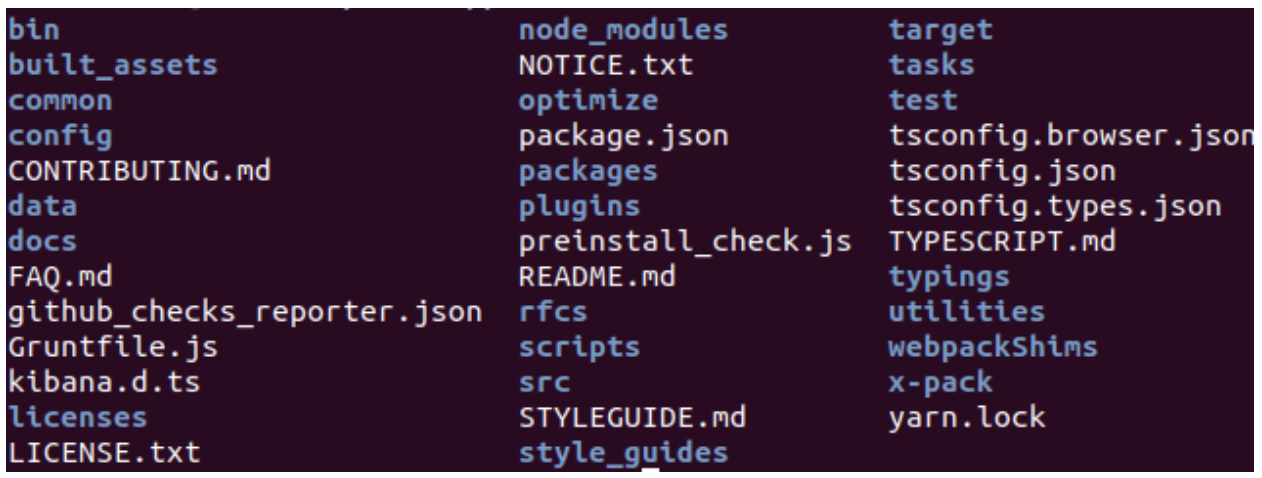
Make sure you are under the Kibana directory. The layout of the directory should be like like this:
Run nvm use and follow the instructions on how to install the required nvm version.
Give all the permissions to access Kibana files to the current user by running chmod -R 777 ./
Run yarn kbn bootstrap to install all the dependencies. Notice that many errors may occur on this step. You can paste the error messages in the comments and we will help you troubleshoot what’s going on.
Step 4— Generate a plugin template
Run this command to generate a plugin template: node scripts/generate_plugin your_plugin_name. The plugin files will be in plugins/your_plugin_name . You need to answer several questions on this step. If you don’t know the answer, then press ENTER to choose the default answer.
Step 5— Start Elasticsearch and Kibana to test the plugin
Now open two terminal windows and run yarn es snapshot --oss in the first window and run yarn start -oss in the second window. -oss means start Elasticsearch and Kibana with only open-source code.
Open your browser and go to http://localhost:5601 . You may be asked to enter the username and password. The default username is elastic , the default password is changeme . To access the plugin you just created, expand the left bar and you will see the name of your plugin. Click it and the browser should show something like this:
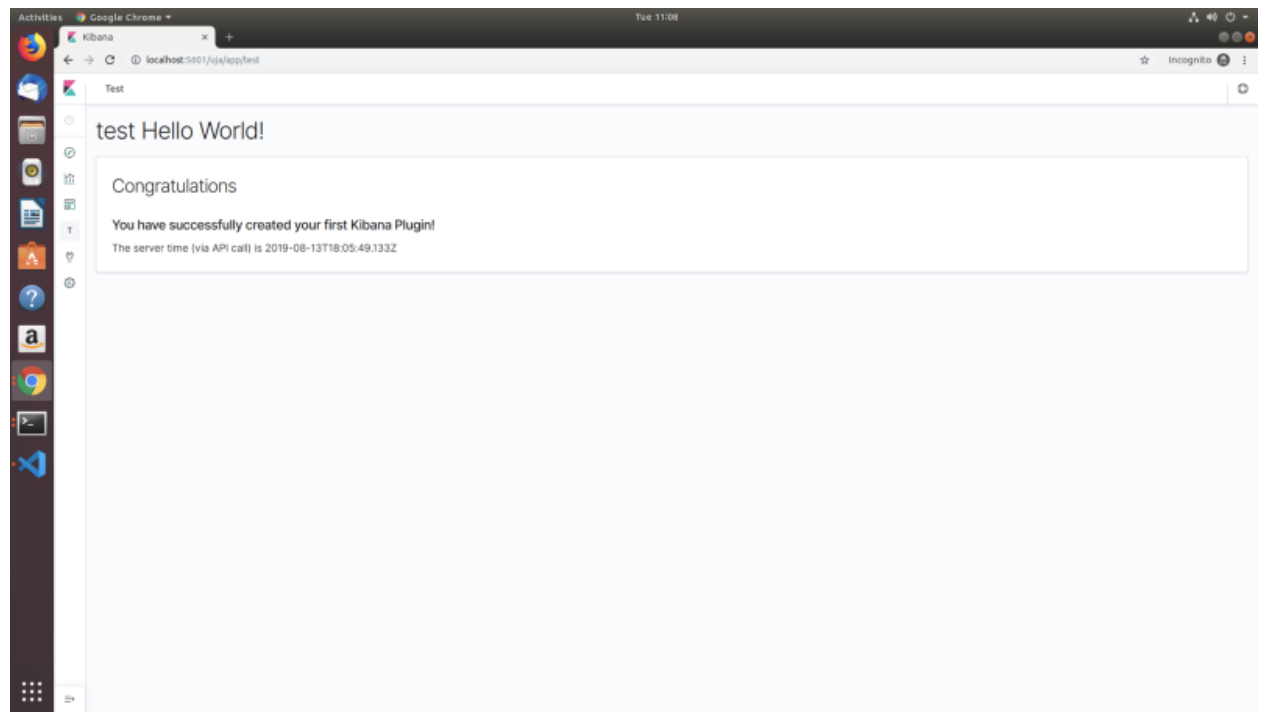
Since I named my plugin test , the page shows test Hello World. Go to plugin/your_plugin_name to edit or customize your plugin. 🙂
Interested in Data Exploration or Data Analysis? Follow our linkedin page!